Manage YugabyteDB releases EARLY ACCESS
Before you can upgrade your universe to a specific version of YugabyteDB, verify that the release is available in YugabyteDB Anywhere and, if necessary, import it.
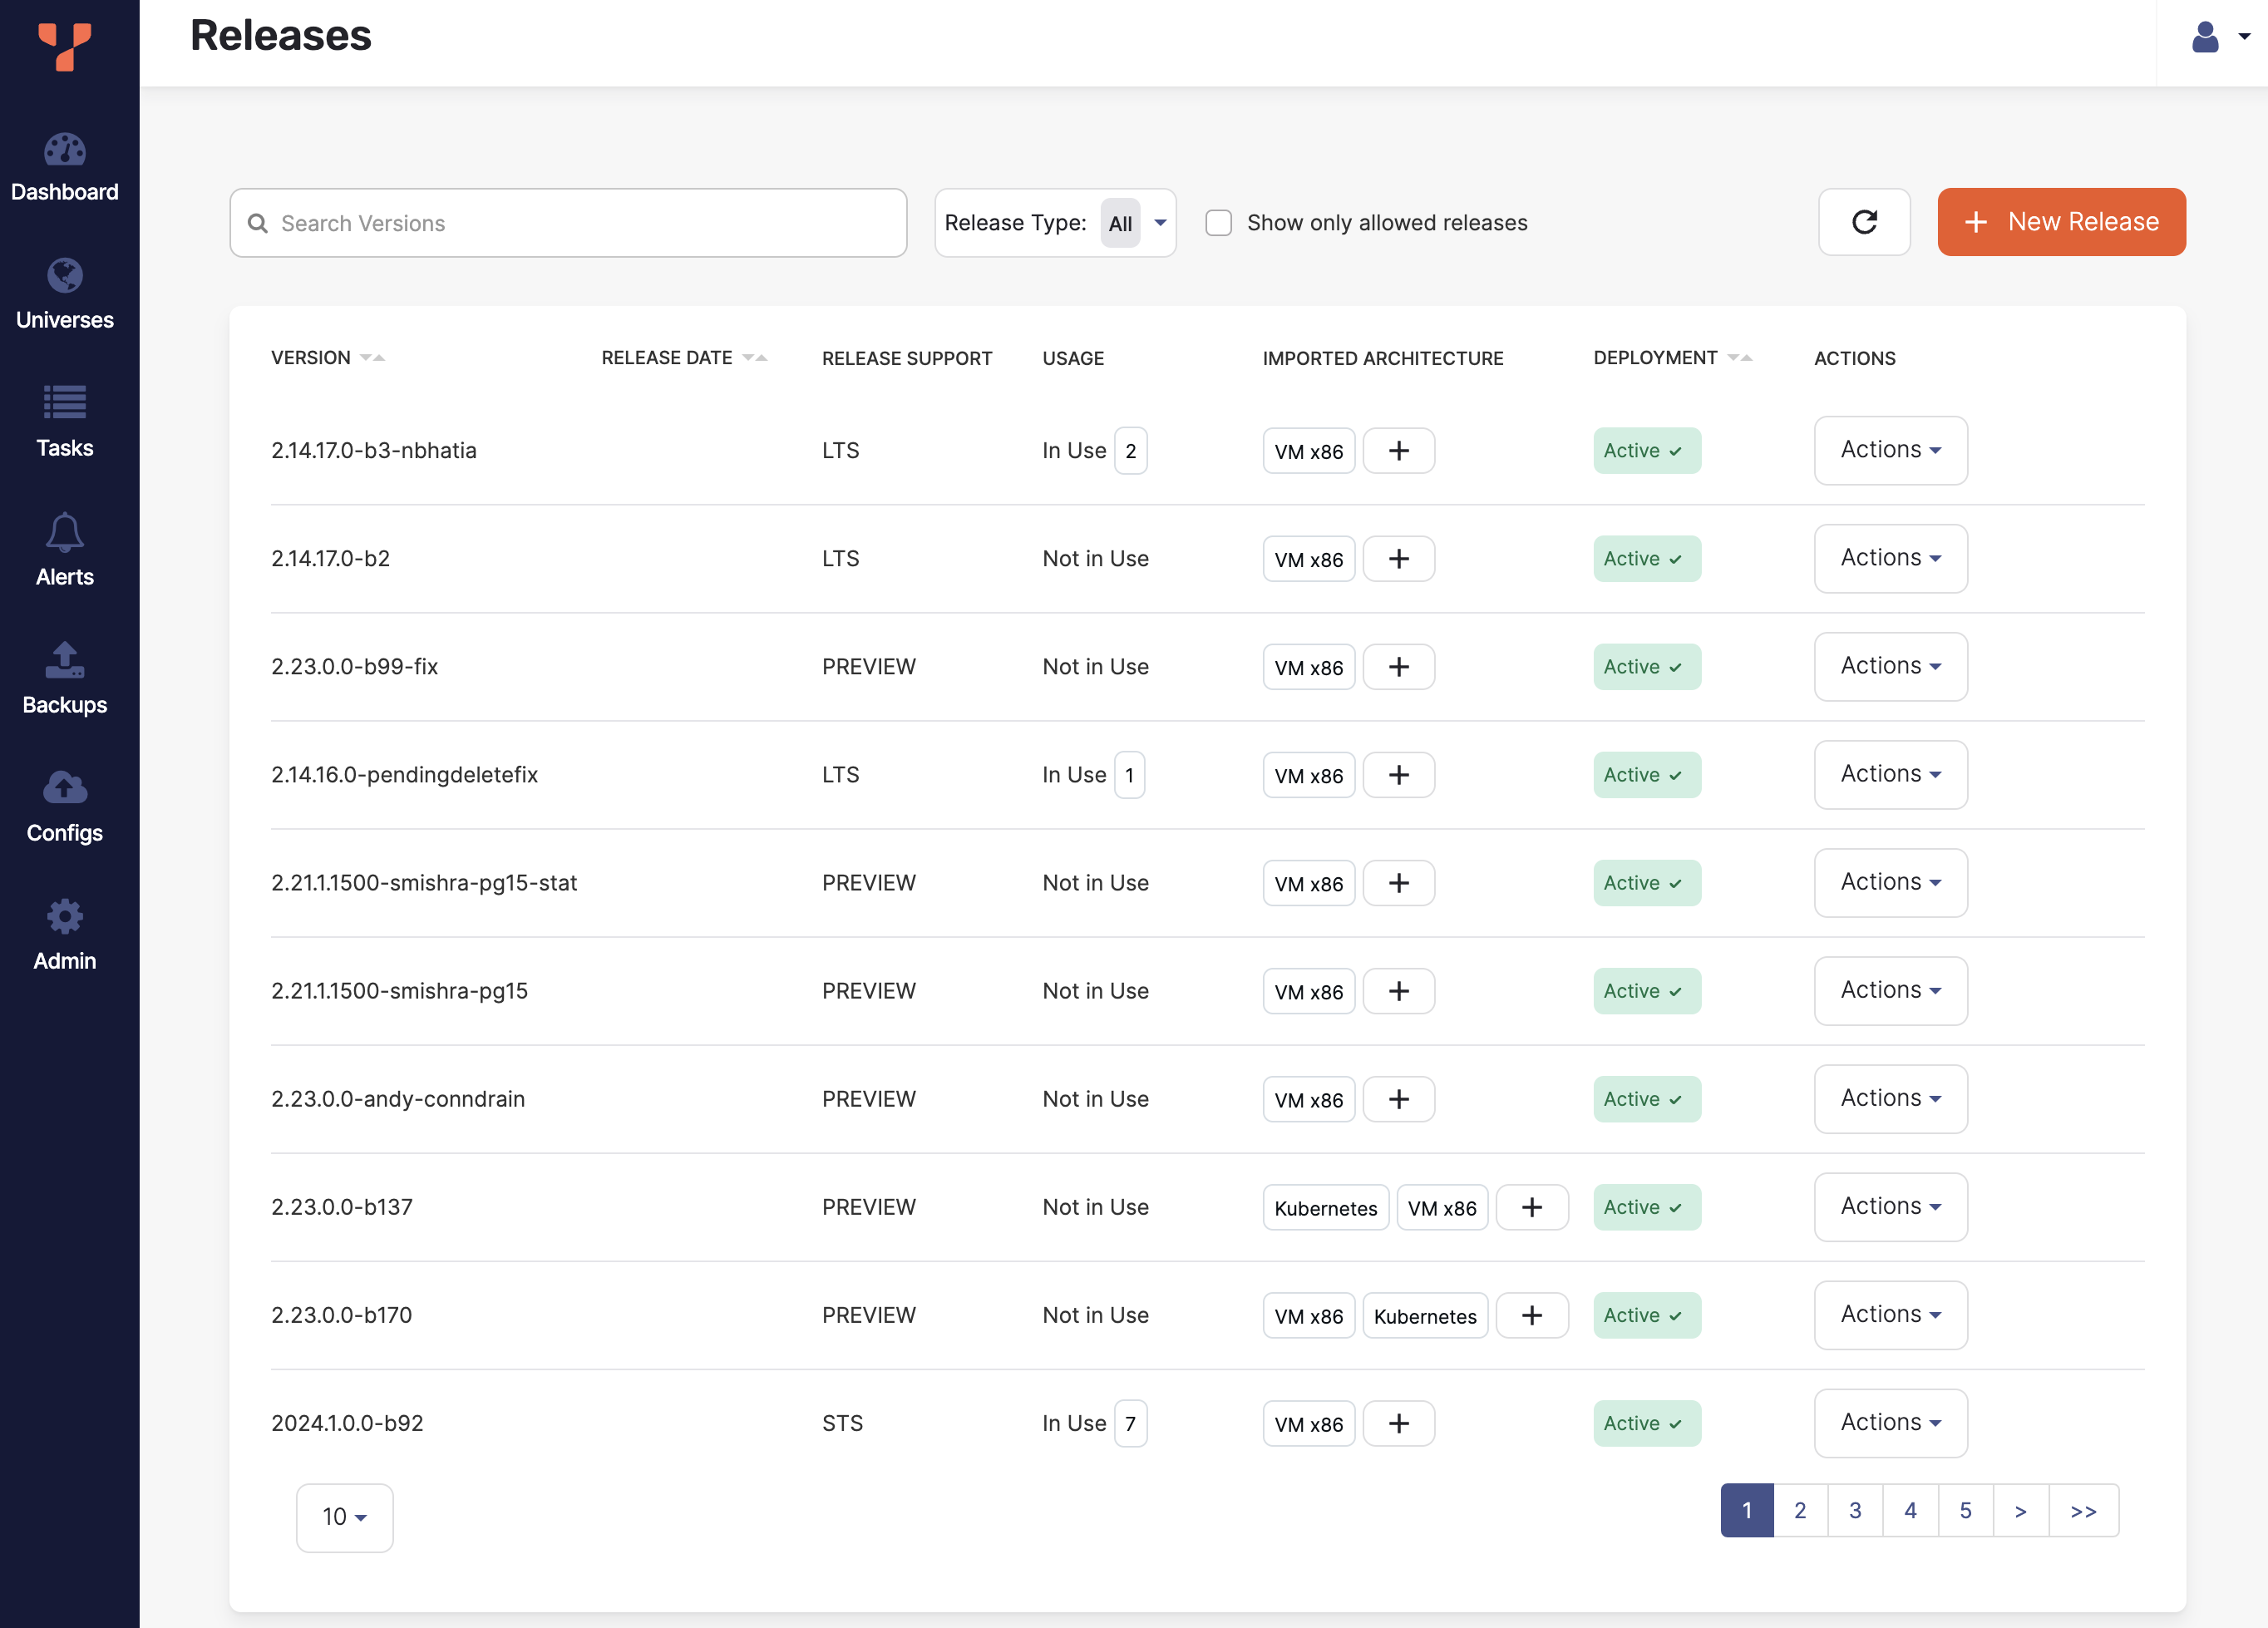
To view the YugabyteDB releases that are available in your YugabyteDB Anywhere instance, do the following:
-
Click the user profile icon and choose Releases.

You can filter the list by text and release type, and choose to display only allowed releases.
To view the release details, select a release in the list.
To delete or disable a release, click its corresponding Actions. Disabled releases are not available when creating universes.
Importing a YugabyteDB release in YugabyteDB Anywhere
Note that by default, you cannot import the latest stable YugabyteDB versions (v2024.1.x) in preview YugabyteDB Anywhere versions (for example, v2.23.x). To enable this import, you need to set the YugabyteDB Anywhere runtime flagyb.allow_db_version_more_than_yba_version to true. See Manage runtime configuration settings.
Import a release
If a release that you want to install or upgrade is not available, import it as follows:
-
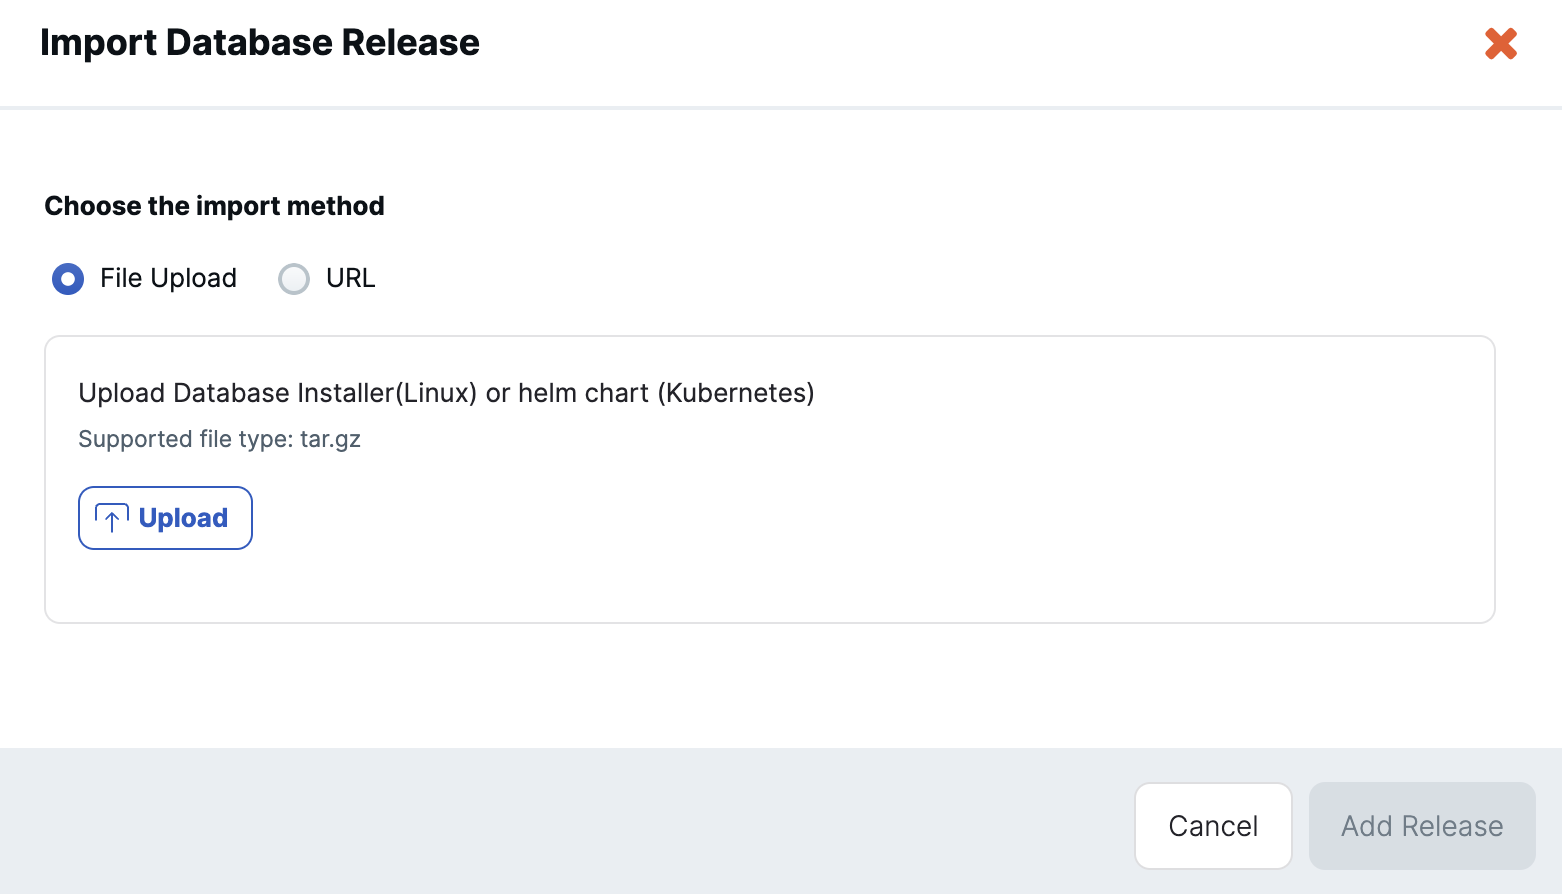
On the Releases page, click New Release to open the Import Database Release dialog as shown in the following illustration:

-
Choose whether to upload the release as a file, or download the release via a URL.
-
If uploading a file, click Upload and select the release file.
-
If loading the release from a URL, enter the URL of the storage location.
-
-
Click Fetch Metadata. YugabyteDB Anywhere obtains the release details from the file.
If YugabyteDB Anywhere is unable to extract the release details, provide them manually by entering the release version and specifying the deployment type and architecture.
-
Click Add Release.
When imported, the release is added to the Releases list.
Add an architecture for a release
If a release architecture that you want to install on a universe is not available, add it as follows:
-
On the Releases page, locate the release in the list and click the plus button in the Imported Architecture column, or click Actions and Add Architecture to open the New Architecture dialog.
-
Choose whether to upload the release as a file, or download the release via a URL.
-
If uploading a file, click Upload and select the release file.
-
If loading the release from a URL, enter the URL of the storage location.
-
-
Click Fetch Metadata. YugabyteDB Anywhere obtains the release details from the file.
If YugabyteDB Anywhere is unable to extract the release details, provide them manually by entering the release version and specifying the deployment type and architecture.
-
Click New Architecture.
When imported, the architecture is added to the Release.
Note that for Kubernetes universes, if a new Kubernetes release architecture is required, perform the following steps:
- Create the release using the related YugabyteDB x86/ARM build.
- Add a new architecture to the newly created release and provide the helm chart.
As metadata is pulled from the YugabyteDB build, this will populate all the required data fields when creating the release, and simplify adding the helm chart after.